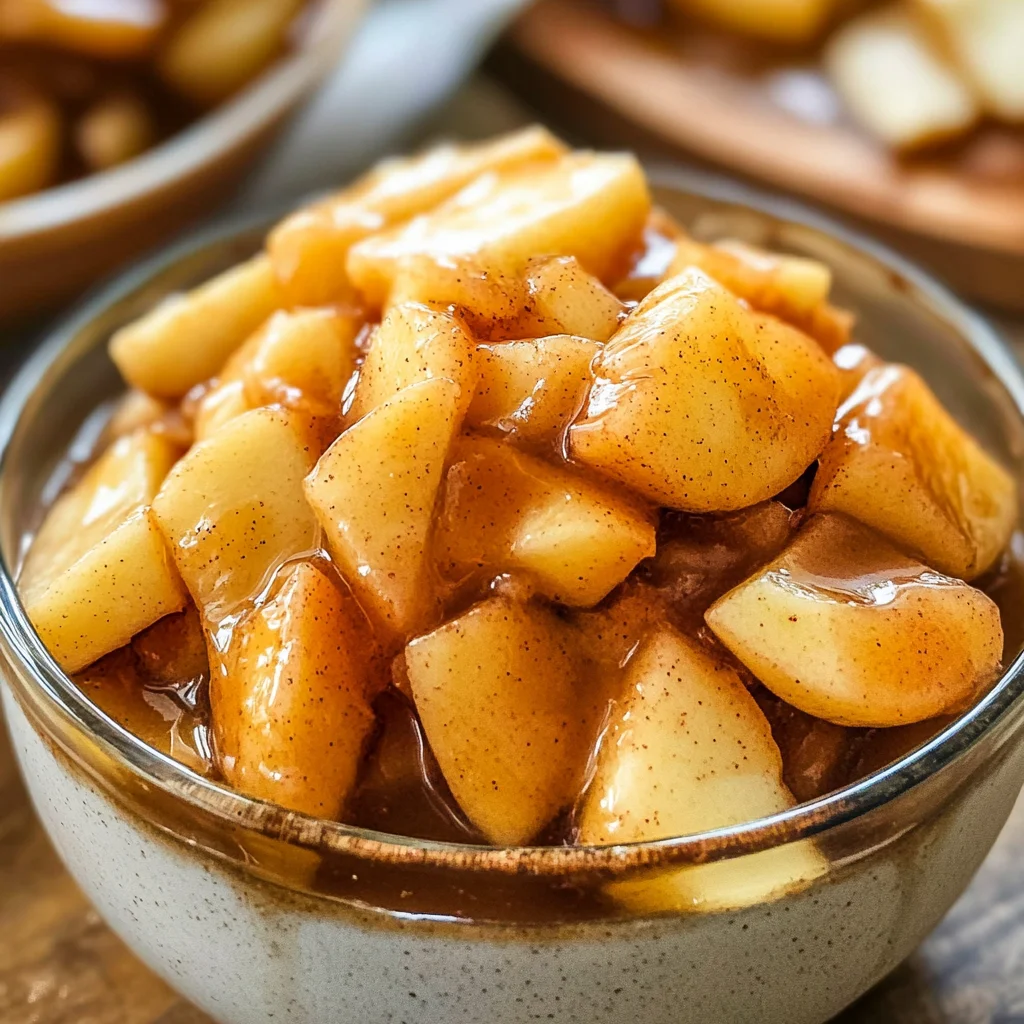
Apple Pie Filling Recipe
Quick Stovetop Apple Pie Filling is a delightful way to make your desserts shine! This Apple Pie Filling Recipe is not only a simple substitute for store-bought options but also bursts with fresh flavor. Perfect for family gatherings, holiday celebrations, or just a cozy night in, this homemade filling brings warmth and sweetness to any dish. You’ll appreciate its ease of preparation and the comforting aroma that fills your kitchen.
Why You’ll Love This Recipe
- Quick and Easy: This recipe comes together in just 12 minutes, making it perfect for last-minute dessert cravings.
- Fresh Flavor: Using real apples elevates the taste compared to canned options, ensuring every bite is delicious.
- Versatile Use: Enjoy this filling in pies, tarts, or as a topping for pancakes and ice cream.
- Customizable: Adjust the sweetness and spices to suit your taste preferences.
- Healthy Option: With minimal sugar and fresh ingredients, it’s a healthier alternative to commercial fillings.
Tools and Preparation
Before diving into the cooking process, gather these essential tools. Having everything ready makes the preparation smooth and enjoyable.
Essential Tools and Equipment
- Large skillet
- Peeler
- Knife
- Mixing bowl
- Measuring cups and spoons
Importance of Each Tool
- Large skillet: A wide surface allows for even cooking of your apples without overcrowding.
- Peeler: Makes peeling apples quick and efficient, saving you time during prep.
- Measuring cups and spoons: Accurate measurements ensure a balanced flavor in your apple pie filling.
Ingredients
For the Apple Pie Filling
- 4 medium apples
- ⅓ cup granulated sugar
- 3 tablespoons water
- 2 tablespoons butter
- 1 teaspoon cinnamon
- 4 teaspoons cornstarch
- 2 tablespoons water
How to Make Apple Pie Filling Recipe
Step 1: Prepare the Apples
- Peel, core, and chop or slice the apples. This creates even pieces that cook uniformly.
Step 2: Cook with Butter and Cinnamon
- Melt the butter in a large skillet over medium heat.
- Stir in the cinnamon, then add the chopped apples, sugar, and water. Mix well.
Step 3: Simmer Until Softened
- Cover the skillet and cook for 4–6 minutes, stirring occasionally until the apples are slightly softened but not mushy.
Step 4: Thicken the Filling
- In a small bowl, combine cornstarch with 2 tablespoons of water.
- Add this mixture to the skillet while stirring continuously until the filling thickens.
Step 5: Final Touches
- Let it bubble for about one minute before removing from heat. Allow cooling before using.
This easy Apple Pie Filling Recipe will transform any dessert into something special while keeping things simple!
How to Serve Apple Pie Filling Recipe
Apple pie filling is versatile and can elevate many dishes. Whether you’re making a classic dessert or adding a fruity touch to other meals, there are plenty of ways to serve this delicious apple pie filling.
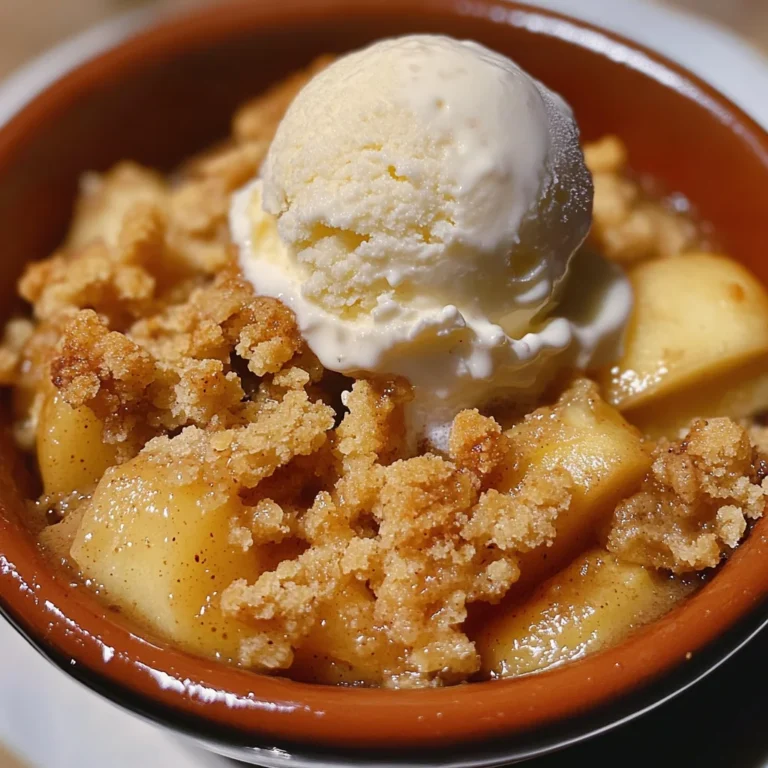
On Top of Ice Cream
- A scoop of vanilla ice cream topped with warm apple pie filling creates a delightful dessert that combines warm and cold.
In Pancakes or Waffles
- Drizzle apple pie filling over pancakes or waffles for a sweet breakfast treat that tastes like dessert.
As a Filling for Crepes
- Spread apple pie filling inside crepes for a unique twist on brunch. Serve with whipped cream for extra indulgence.
With Yogurt
- Mix apple pie filling into yogurt for a quick and tasty snack. It adds flavor and texture, making it more satisfying.
In Oatmeal
- Stir in apple pie filling to your morning oatmeal for added sweetness and warmth. It’s perfect for chilly mornings.
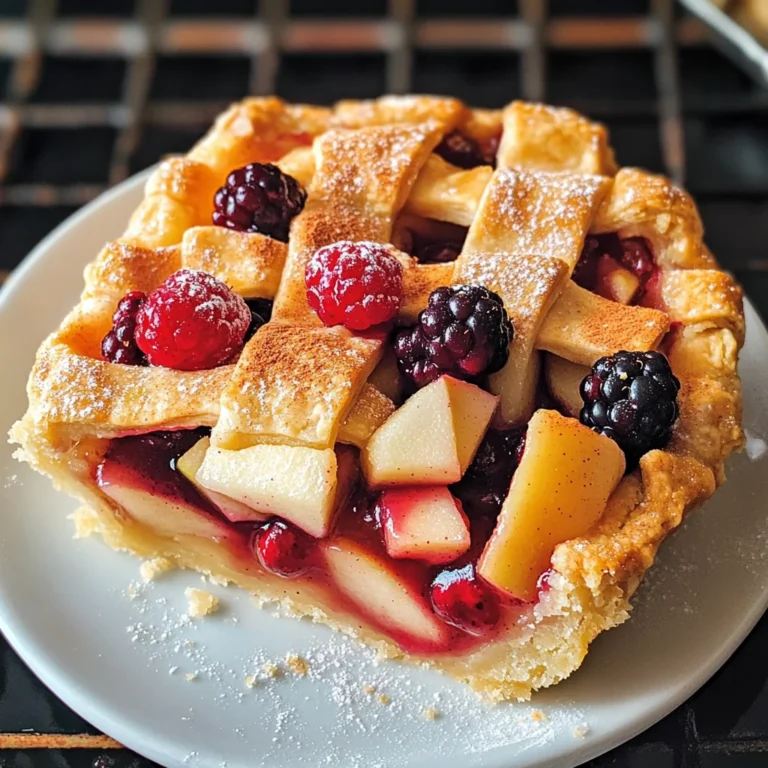
In Pastries
- Use the filling as a center for pastries or turnovers, baking them until golden brown for an irresistible treat.
How to Perfect Apple Pie Filling Recipe
To achieve the best results with your apple pie filling recipe, consider these helpful tips.
- Choose the right apples: Opt for a mix of sweet and tart apples like Granny Smith and Honeycrisp for balanced flavor.
- Adjust sweetness: Feel free to modify the sugar based on your taste preference or the tartness of the apples.
- Don’t overcook: Keep an eye on the cooking time. You want the apples tender but not mushy.
- Experiment with spices: Try adding nutmeg or allspice along with cinnamon for extra depth in flavor.
- Use fresh ingredients: Fresh apples will always yield better results than canned varieties, enhancing both taste and texture.
- Cool before using: Allow the filling to cool slightly before using it in recipes, as this helps it thicken further.
Best Side Dishes for Apple Pie Filling Recipe
Apple pie filling can complement various side dishes, enhancing your meal’s overall experience. Here are some great options:
-
Vanilla Ice Cream
A classic pairing that balances warm flavors with creamy sweetness. -
Buttermilk Biscuits
Fluffy biscuits served warm make an excellent base for apple pie filling, creating a comforting dish. -
Cheddar Cheese Slices
The sharpness of cheddar contrasts beautifully with sweet apple flavors, making it an intriguing option. -
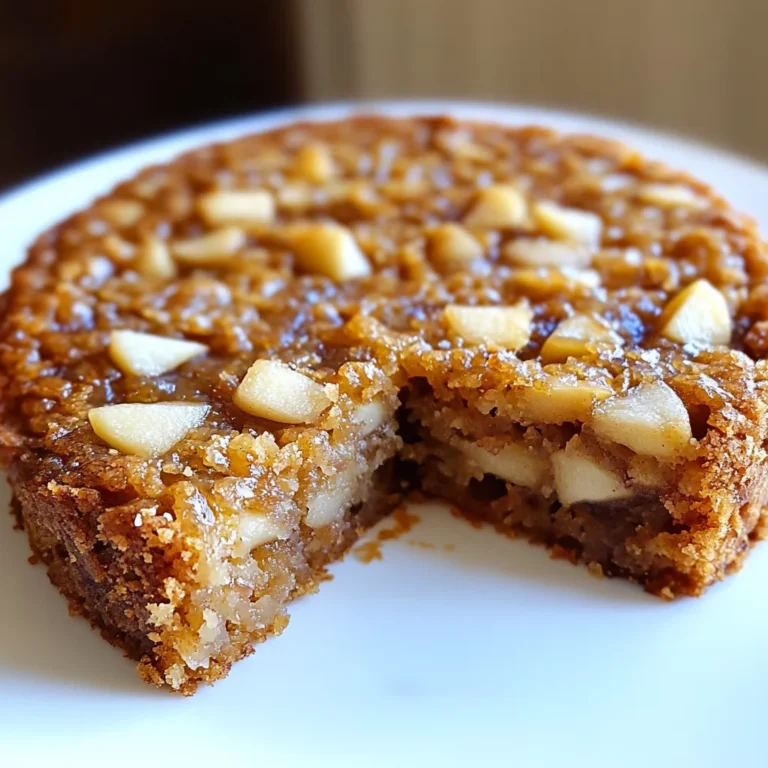
Crumb Cake
A slice of crumb cake works wonderfully alongside apple pie filling, offering texture and sweetness. -
Pecan Pie
If you’re feeling adventurous, serve it alongside pecan pie to create a dessert duo with contrasting flavors. -
Greek Yogurt Parfait
Layer Greek yogurt with granola and apple pie filling for a nutritious yet indulgent treat that’s perfect any time of day.
Common Mistakes to Avoid
When making your own apple pie filling, it’s easy to make a few common errors. Here are some mistakes to watch out for:
-
Not using the right apples: Choose firm apples like Granny Smith or Honeycrisp for the best texture and flavor. Avoid soft varieties that can turn mushy.
-
Overcooking the apples: Cook just until they are slightly softened, keeping them firm for a great bite in your pie. This prevents a mushy filling.
-
Skipping the cornstarch: Cornstarch thickens your filling. Without it, you may end up with a runny mixture that won’t hold together in your pie.
-
Ignoring the spices: Cinnamon adds warmth and depth to your filling. Don’t skip it; it elevates the flavor and makes it more appealing.
-
Not letting it cool: Allowing the filling to cool before using helps it thicken further and makes handling easier when assembling your pie.
Storage & Reheating Instructions
Refrigerator Storage
- Store in an airtight container.
- Keeps well for up to 4 days in the fridge.
Freezing Apple Pie Filling Recipe
- Use freezer-safe bags or containers.
- Can be frozen for up to 6 months. Be sure to label them with the date!
Reheating Apple Pie Filling Recipe
- Oven: Preheat to 350°F (175°C) and heat for about 10-15 minutes until warm.
- Microwave: Heat in short bursts of 30 seconds, stirring in between until heated through.
- Stovetop: Warm over medium heat, stirring frequently until hot.
Frequently Asked Questions
Here are some common questions about the apple pie filling recipe:
What apples are best for this Apple Pie Filling Recipe?
Firm apples like Granny Smith or Honeycrisp work best due to their texture and flavor. They hold up well during cooking.
Can I make this apple pie filling ahead of time?
Yes! You can prepare this filling up to 4 days in advance and store it in the refrigerator for later use.
How long can I freeze apple pie filling?
You can freeze apple pie filling for up to 6 months. Just ensure it’s stored properly in freezer-safe containers or bags.
Can I use other spices in my apple pie filling?
Absolutely! Feel free to experiment with nutmeg, allspice, or even ginger for different flavor profiles that suit your taste.
How do I adjust the sweetness of my apple pie filling?
You can easily reduce or increase the sugar according to your preference. Taste as you cook and adjust accordingly.
Final Thoughts
This Apple Pie Filling Recipe is a fantastic way to enjoy fresh flavors while avoiding preservatives found in store-bought options. Its versatility allows you to customize with different spices or even add nuts for crunch. Give it a try—you’ll love how easy and delightful homemade apple pie filling can be!
Apple Pie Filling Recipe

Quick Stovetop Apple Pie Filling is the perfect solution for anyone craving a delightful homemade dessert. This easy Apple Pie Filling Recipe transforms fresh apples into a warm, spiced mixture ready to elevate your favorite treats. Whether it’s for a family gathering, holiday feast, or a cozy night in, this apple filling is versatile and can be enjoyed on ice cream, pancakes, or even in pastries. In just 12 minutes, you can create a filling that bursts with flavor and fills your kitchen with an irresistible aroma. With minimal sugar and customizable spices, this recipe offers a healthier alternative to store-bought options while providing the comforting taste of homemade goodness.
- Prep Time: 5 minutes
- Cook Time: 7 minutes
- Total Time: 12 minutes
- Yield: About 4 servings 1x
- Category: Dessert
- Method: Stovetop
- Cuisine: American
Ingredients
- 4 medium apples
- ⅓ cup granulated sugar
- 3 tablespoons water
- 2 tablespoons butter
- 1 teaspoon cinnamon
- 4 teaspoons cornstarch
- 2 tablespoons water
Instructions
- Peel, core, and chop the apples into uniform pieces.
- Melt butter in a large skillet over medium heat; stir in cinnamon.
- Add chopped apples, sugar, and water; mix well.
- Cover and simmer for 4–6 minutes until apples soften but retain their shape.
- Combine cornstarch with 2 tablespoons water; stir into the skillet until thickened.
- Let bubble for one minute before removing from heat; allow to cool slightly before using.
Nutrition
- Serving Size: ½ cup (120g)
- Calories: 150
- Sugar: 22g
- Sodium: 0mg
- Fat: 5g
- Saturated Fat: 3g
- Unsaturated Fat: 2g
- Trans Fat: 0g
- Carbohydrates: 24g
- Fiber: 2g
- Protein: 1g
- Cholesterol: 10mg